I created my own multimedia NAS in order to have a place where I could store my private movie library and back up all my important data. It is important for me to have access to this data from anywhere on the Internet, on any of my devices, such as a laptop, tablet, or mobile phone.
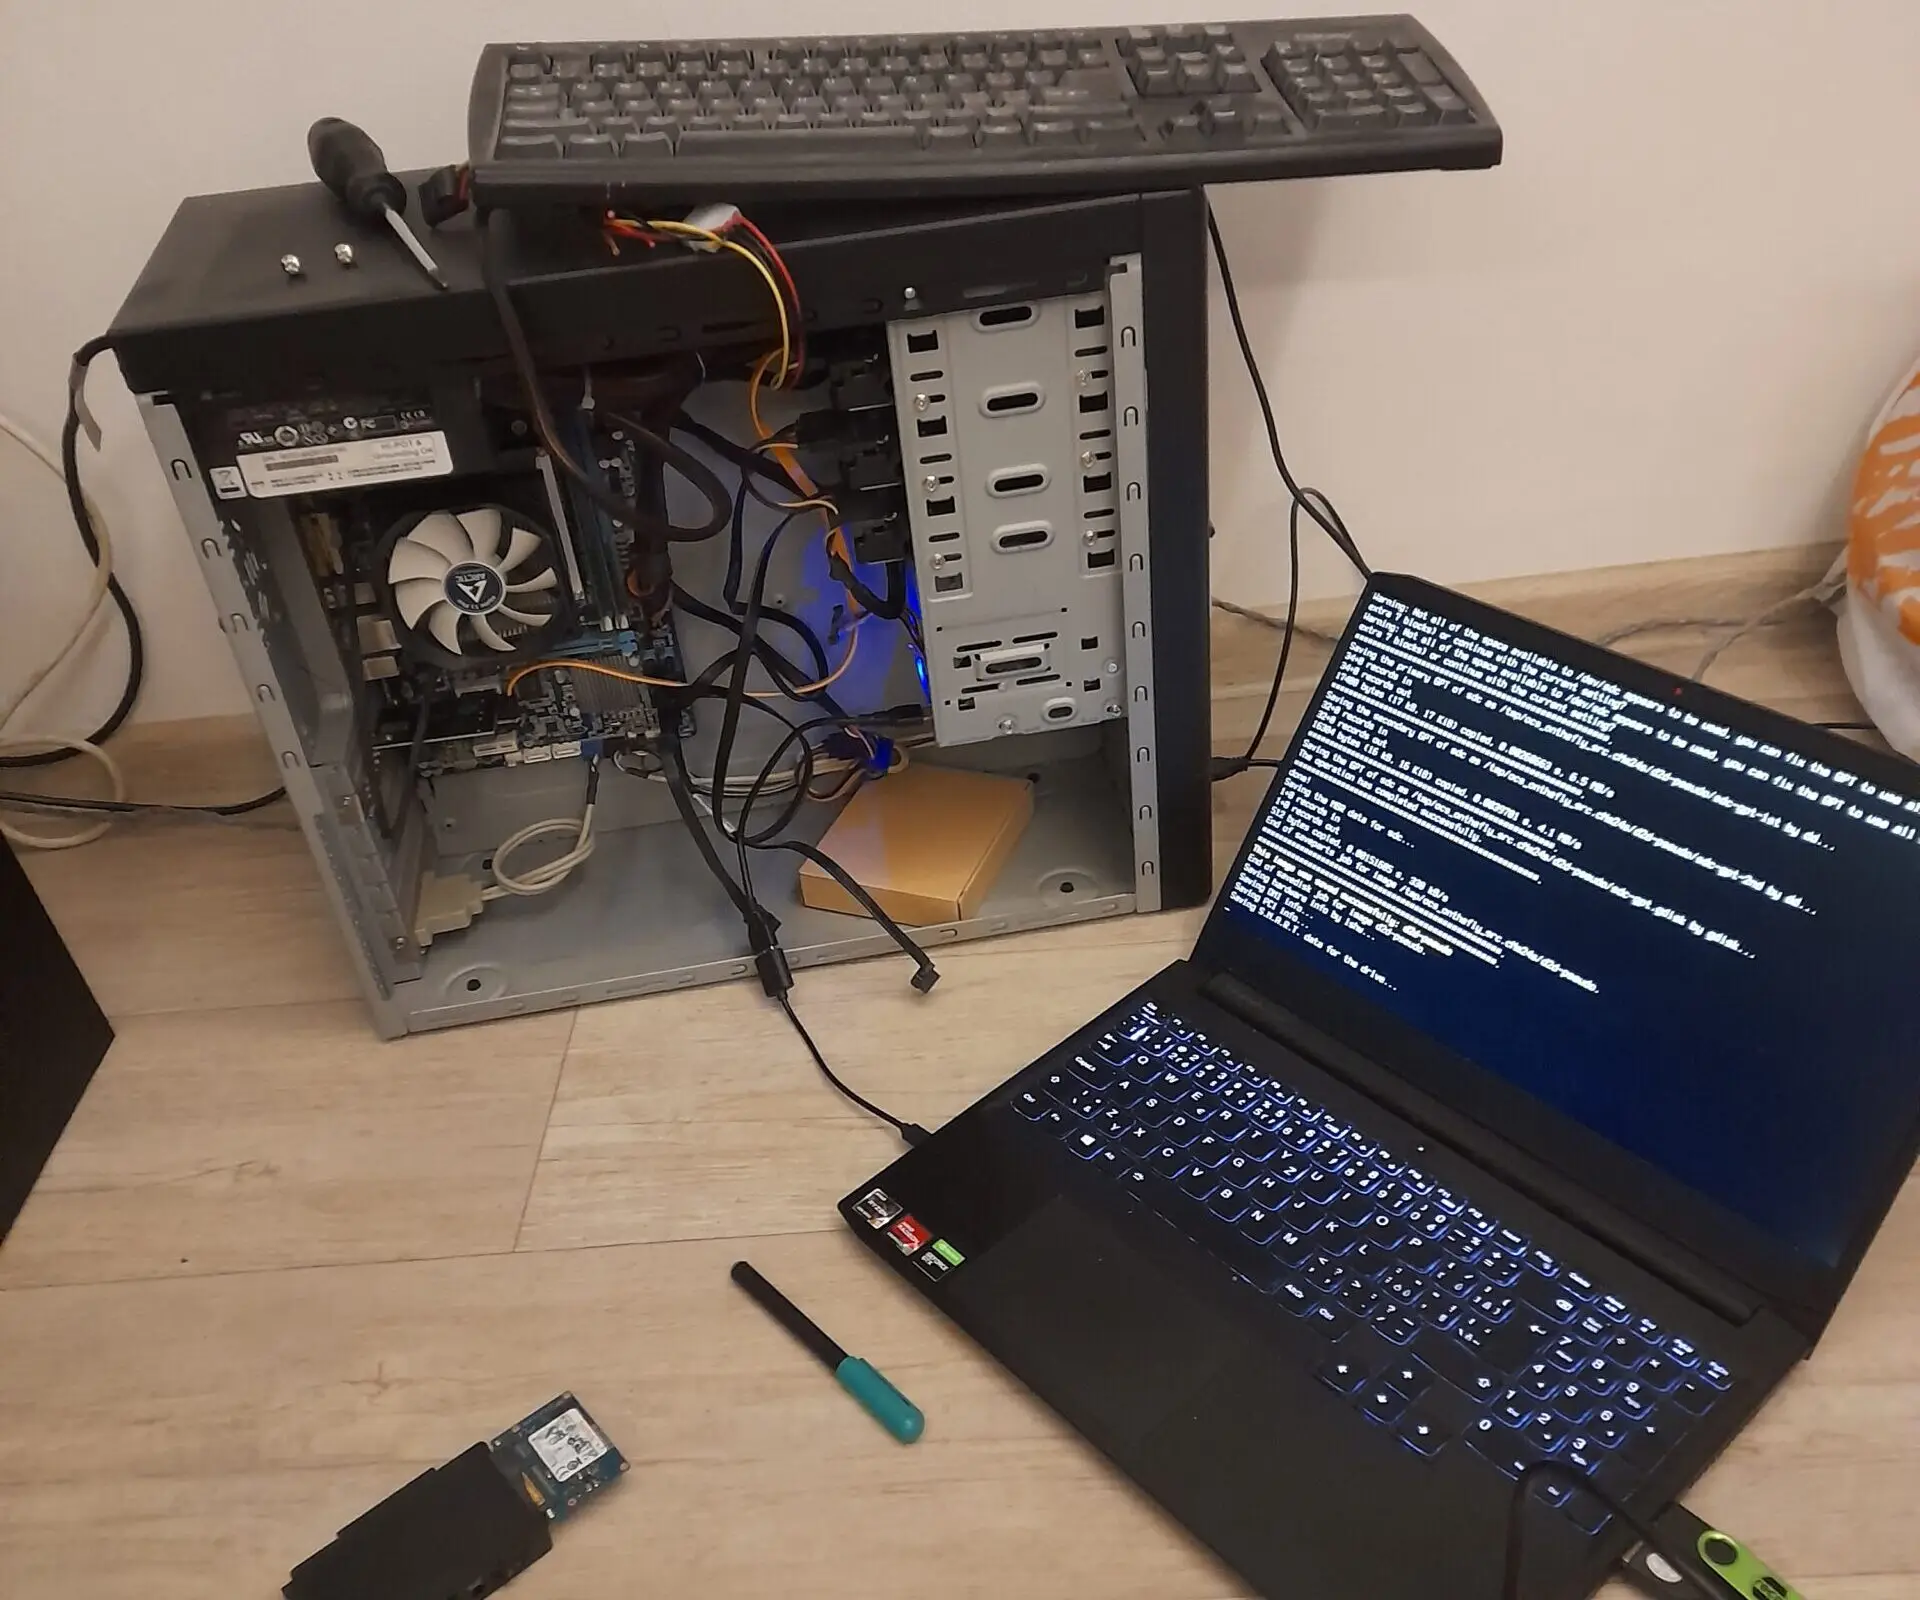
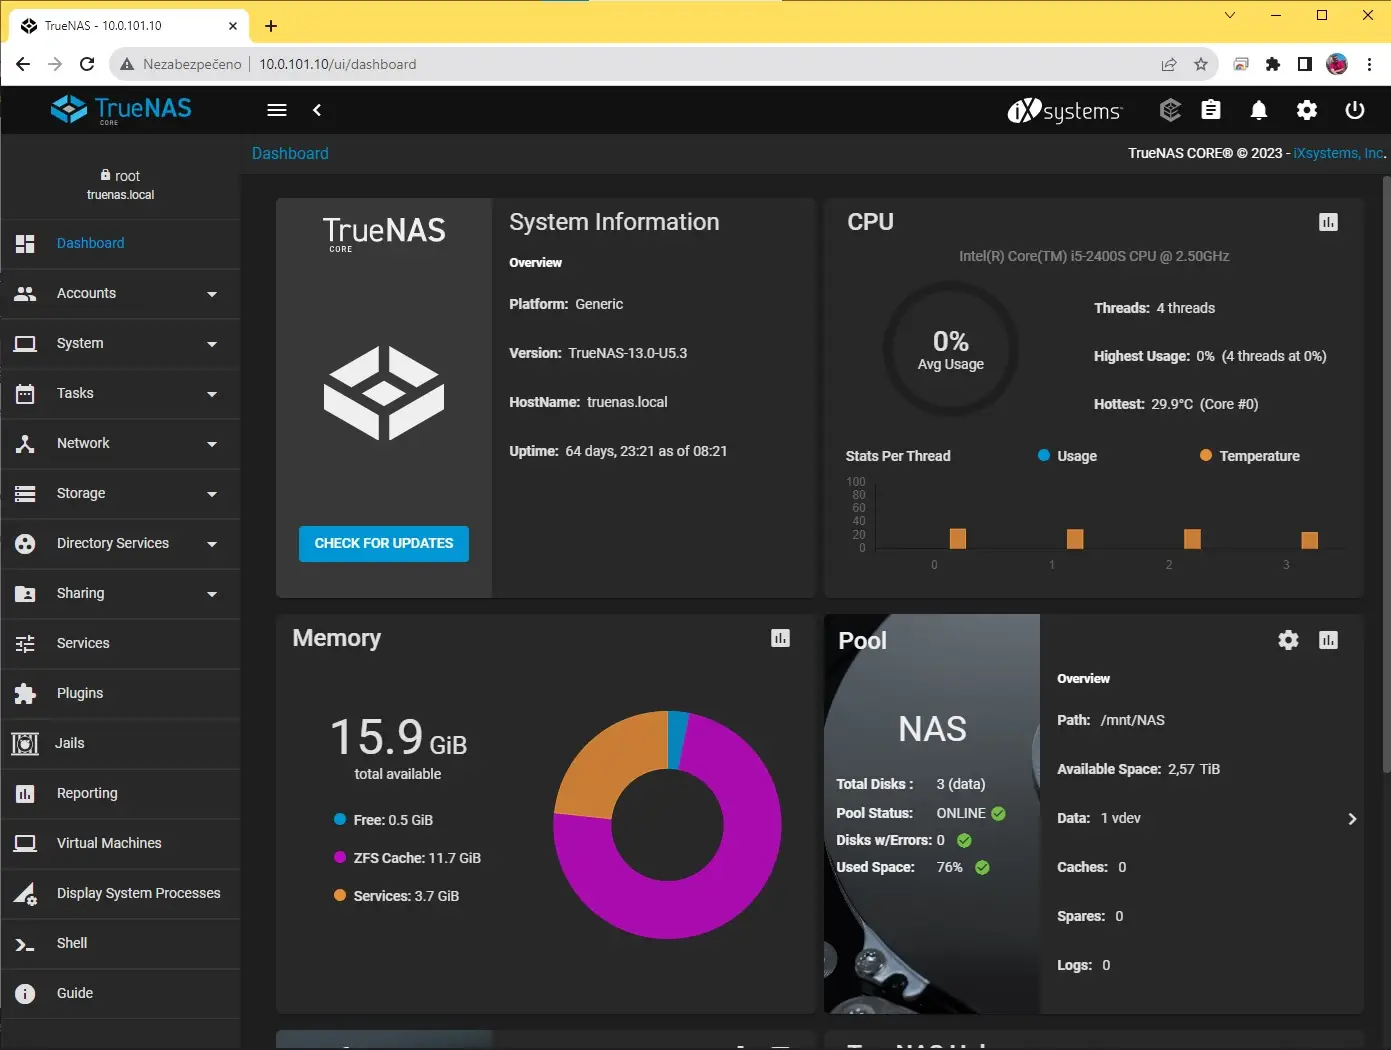
For the basic hardware, I used a motherboard with an i5 processor and 16GB of RAM, which I bought at a low price on an auction portal. I placed the motherboard in an old case that I already had. The system drive is a 64GB SSD, while the data disks are 6TB Toshiba P300 series, which are the cheapest disks on the market. Although they are not intended for NAS use, their low price justifies their shorter lifespan. I opted for the TrueNAS operating system, which is a perfect choice as it is free and allows for advanced RAID configurations even without a special controller. In my case, I used RAID 5 with three drives, providing a storage capacity of 12TB and allowing one of the three disks to fail without losing any data.
Since I’m not the only one backing up data on the NAS, I needed to implement an access system. I used SMB for its simplicity and compatibility across systems. I created a login name and password for each user, granting them access to specific folders with different rights, such as read-only. For example, my sister can watch movies from my movie library but cannot delete them.
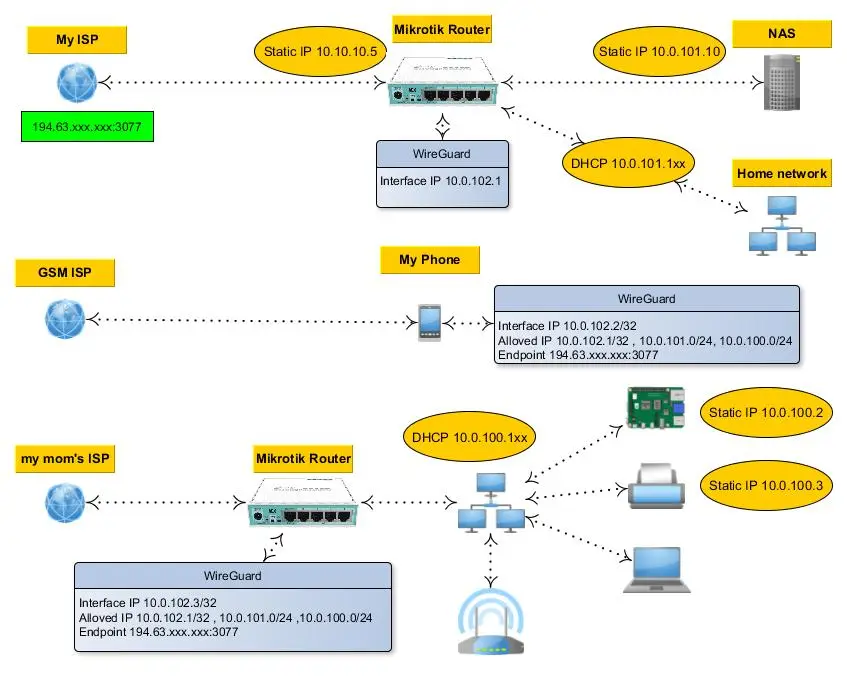
After setting up the NAS, I needed to establish remote access from anywhere on the Internet. The easiest solution for me was to use a VPN, specifically WireGuard VPN, known for its advanced security. WireGuard VPN is completely free, but clients need to connect to a server that I had to create. To accomplish this, I requested my ISP to open a port on its public IP address. I started the VPN server on my Mikrotik main router, which directly supports Wireguard VPN. Although creating the network structure was more challenging, I managed to successfully connect up to twelve devices to the VPN, which has remained stable.